Showing posts with label wooden names. Show all posts

Thursday, December 20, 2012

My Winter Projects

So I did a post on Daxton's winter projects.... so I thought I would show some of the things I've worked on this winter too :)

Thirty One Banner...
So I had my first booth at a craft fair selling Thirty One about a month ago and needed something with my name on it to hang on my tables.  Pink and blue are big Thirty One colors so I went with a pendent banner using those colors. I also gave the clothes pins a coat of silver paint to give them a little extra shine :)

Wooden Letters
I love painting and have made these letters in the past for important peoples babies (check them out here). At the end of the month I'll get a new great nephew so I made these for his Noahs Ark themed nursery :)

NOEL banner
I saw this idea on Pinterest and new instantly that it would look awesome hanging on our mirror in our living room. I have sort of a rustic/tradition Christmas thing going on and burlap fits right in with that. This was pretty labor intensive (had to print each letter to use as a stencil, cut the burlap, paint the letters onto the burlap with multiple coats, and hot glue around twine). It may have been a pain but is now one of my favorite decorations!

Christmas Card Holder
 So I had the traditional Christmas card holder but was never a fan of it. It always got too full and you couldn't see the cards easily without knocking them all off. So when I saw this idea on pinterest I knew I had to do it. Simply hole punch each card and put them on a metal ring, tie a bow on, and now you have a precious flip book of all your Christmas cards. I love being able to flip through the cards and plan on keeping them through the years!

Napkin Rings
We had a ladies Gala at my moms church and our decoration for our table was a rustic/traditional theme so I volunteered to make napkin rings for us using paper towel tube, burlap, twine, and ribbon! Super easy and they turned out super cute!

So those are my mommy projects I've done over the past few months! Best part is that other than the painted name, they didn't cost me a thing because I already had all the materials!  I love having time to be creative again!

Tuesday, June 21, 2011

A Little Step By Step....

A new baby in the family means time for some serious craft time.  The following is my newest project for my great nephew Kason due the end of July. For his brothers room I made these little jewels to match his bedding
While I must admit I'm not too shabby at painting, I wasn't even going to try to attempt to paint letters to match Kason's bedding.... which happens to be Mossy Oak camo. So instead I took a new twist and it ended up in a process like this...
All of the supplies! I bought 2 packs of 3 small painting canvas' for $1.99, wooden letters for .99 each, I had the glue gun, and Jess picked up 2 yards of fabric and spray paint.  This was a super cheap and easy project!
The first thing I did was wrap each canvas up in a piece of fabric just like a present.You do have to make sure the front stays smooth so pull super tight before glueing.
tahdah!! All 5 covered canvas'! We did every other letter with a different color fabric to make it a little more exciting.
Next I took the letters outside and spray painted them with one really good coat and let them dry over night in our garage.
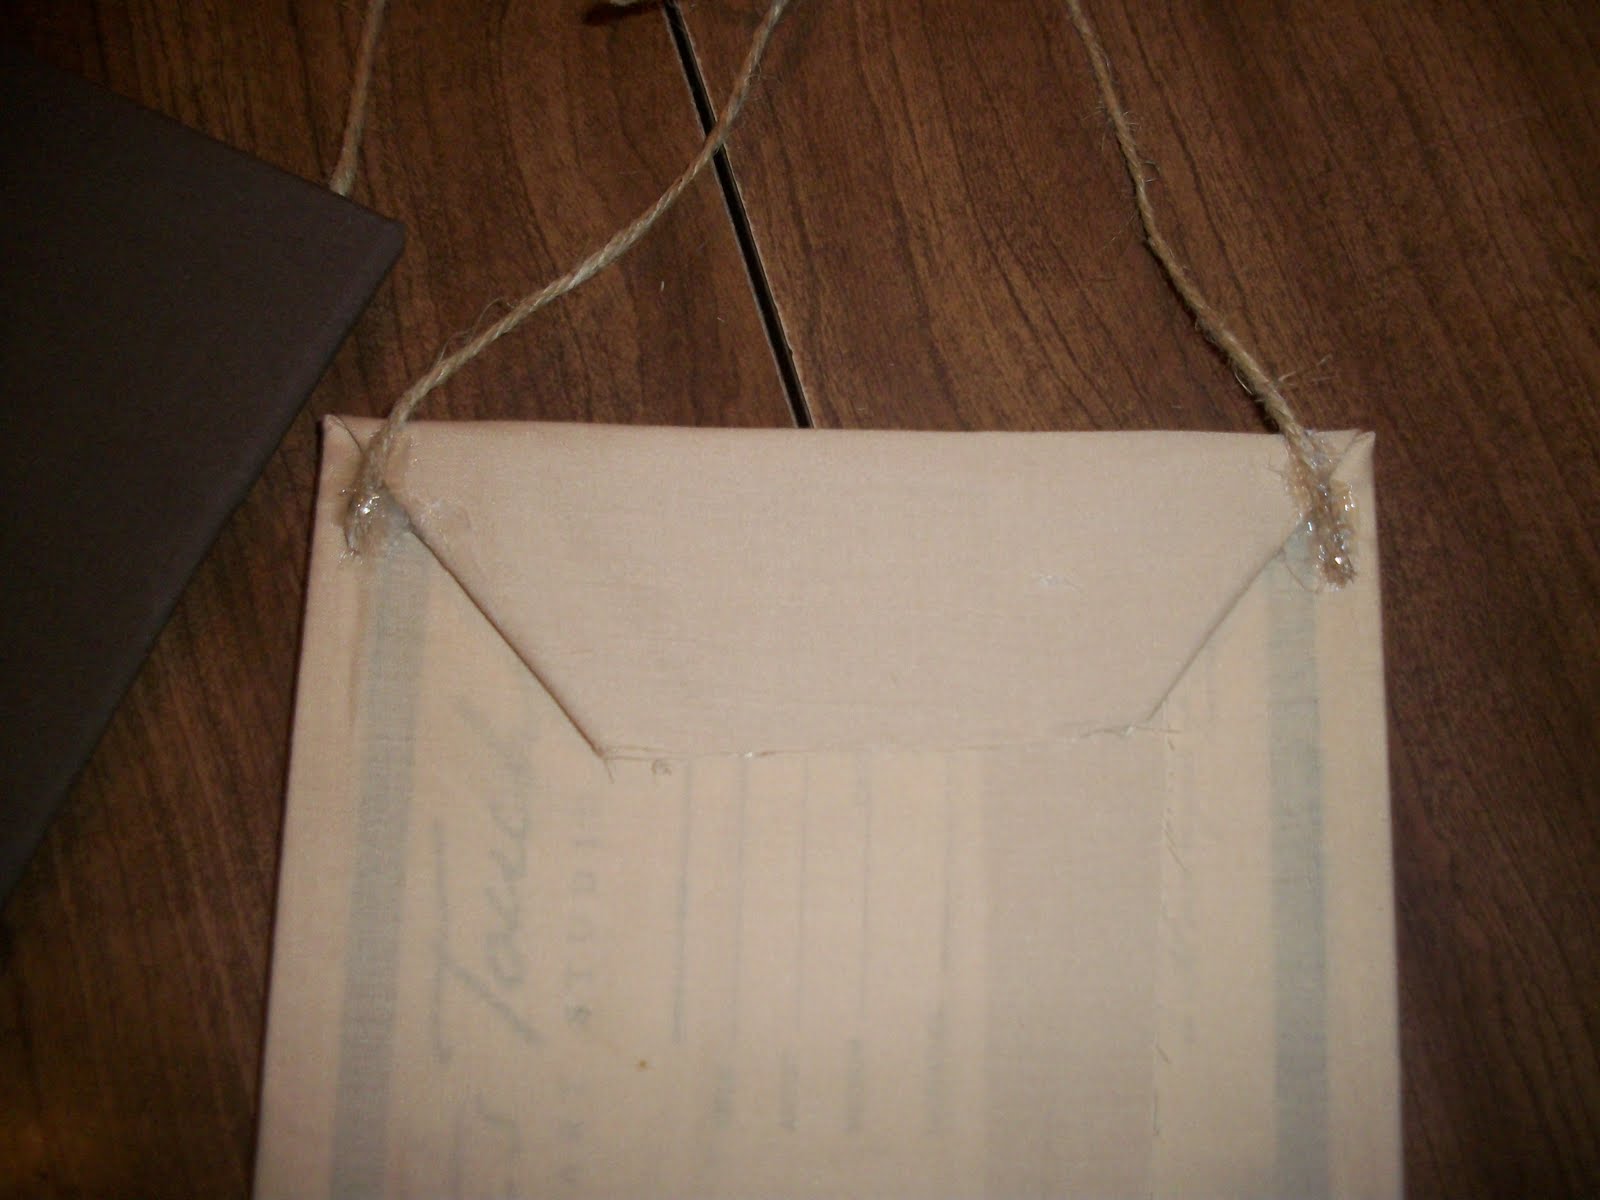
This time I used twine instead of ribbon to hang the letters to better fit with the hunting/camo theme. I put a TON of hot glue on the twine so it doesn't fall off after hanging for while. Like a huge dot under the rope and then a layer on top.
I tied each end of the twine together at the top with a cute little bow and to secure that the bow wouldn't come undone I put a small dot of hot glue on the back of the knot.
And this is the finished product! I really like how it turned out and it looks great with the rest of his room decor. One major thing I forgot to take a picture of was glueing the letters on. This part was a little tricky b/c I used a razor blade to cut a small portion of the fabric off so that I could hot glue part of the letter directly to the canvas. I was worried that if I didn't do so The letters would pull on the fabric. Cutting just a pea size part of the fabric off though and glueing directly to the canvas really helped a lot and they felt very secure!
And since we're talking about it.... here's a name I hand painted for my bff a year ago (WOW!)


And here's the one hanging in Dax's room...


Next post will be on my VERY yummy and healthy fruit pizza I made this week :)