Showing posts with label nursery decorations. Show all posts

Thursday, December 20, 2012

My Winter Projects

So I did a post on Daxton's winter projects.... so I thought I would show some of the things I've worked on this winter too :)

Thirty One Banner...
So I had my first booth at a craft fair selling Thirty One about a month ago and needed something with my name on it to hang on my tables.  Pink and blue are big Thirty One colors so I went with a pendent banner using those colors. I also gave the clothes pins a coat of silver paint to give them a little extra shine :)

Wooden Letters
I love painting and have made these letters in the past for important peoples babies (check them out here). At the end of the month I'll get a new great nephew so I made these for his Noahs Ark themed nursery :)

NOEL banner
I saw this idea on Pinterest and new instantly that it would look awesome hanging on our mirror in our living room. I have sort of a rustic/tradition Christmas thing going on and burlap fits right in with that. This was pretty labor intensive (had to print each letter to use as a stencil, cut the burlap, paint the letters onto the burlap with multiple coats, and hot glue around twine). It may have been a pain but is now one of my favorite decorations!

Christmas Card Holder
 So I had the traditional Christmas card holder but was never a fan of it. It always got too full and you couldn't see the cards easily without knocking them all off. So when I saw this idea on pinterest I knew I had to do it. Simply hole punch each card and put them on a metal ring, tie a bow on, and now you have a precious flip book of all your Christmas cards. I love being able to flip through the cards and plan on keeping them through the years!

Napkin Rings
We had a ladies Gala at my moms church and our decoration for our table was a rustic/traditional theme so I volunteered to make napkin rings for us using paper towel tube, burlap, twine, and ribbon! Super easy and they turned out super cute!

So those are my mommy projects I've done over the past few months! Best part is that other than the painted name, they didn't cost me a thing because I already had all the materials!  I love having time to be creative again!

Wednesday, January 18, 2012

Toddler Spaces Part Dos!

Just like the living room, I try to change out toys in his room about once a month. I still only do quiet, calm toys in his room because we want it to be a peaceful, calm place. Most of the time we spend in his room is spent reading books. Really the only time he plays in there is for about 10 minutes before he falls asleep (at night time and nap) and if I'm working on something in there. He wants to be with us so he spends most of his time playing in his space int he living room. Here's a peek at his room right now....
 View from by his door.
View from the closet.
 Dax's closet doors are magnetic so we have letter magnets on it, along with a magnetic picture of Cheyenne (his cousin who is one of his favorite people), and we also usually have a Santa magnet on there too :)  He's a big fan of Santa
 So When I first put art up on Dax's wall I said I was going to rotate it out. But I can't get myself to part with any of it so I just keep adding to it :)  I do think it's kind of fun though to see how his art has progressed from 6 months to 16 months :)
 Reading space. Eventually I want to hang some fabric from the ceiling around this area and make it super cozy but I want to wait until he's just a bit bigger. So for now stuffed animals and pillows will have to do  :)
 These are Dax's shelves now. Few of our favorite books on the shelf, wooden stackers, wooden shape sorter, wooden bead toy, sensory bottles, and a couple cars.
And the last thing is the bookshelf. Here are some of Dax's books that he's not quite into yet, some wooden cars and wooden puzzles. The box is a sensory box. We have a few different ribbons of different textures, a sensory bottle with bells in it, some metal bracelets, and some puffy balls. Eventually I'll make some smell bottles and add them in there as well!


Well that's it for our newest updates! I know I love seeing pictures of other kids rooms so hopefully you enjoyed it too!

Sunday, January 8, 2012

And She's Back....

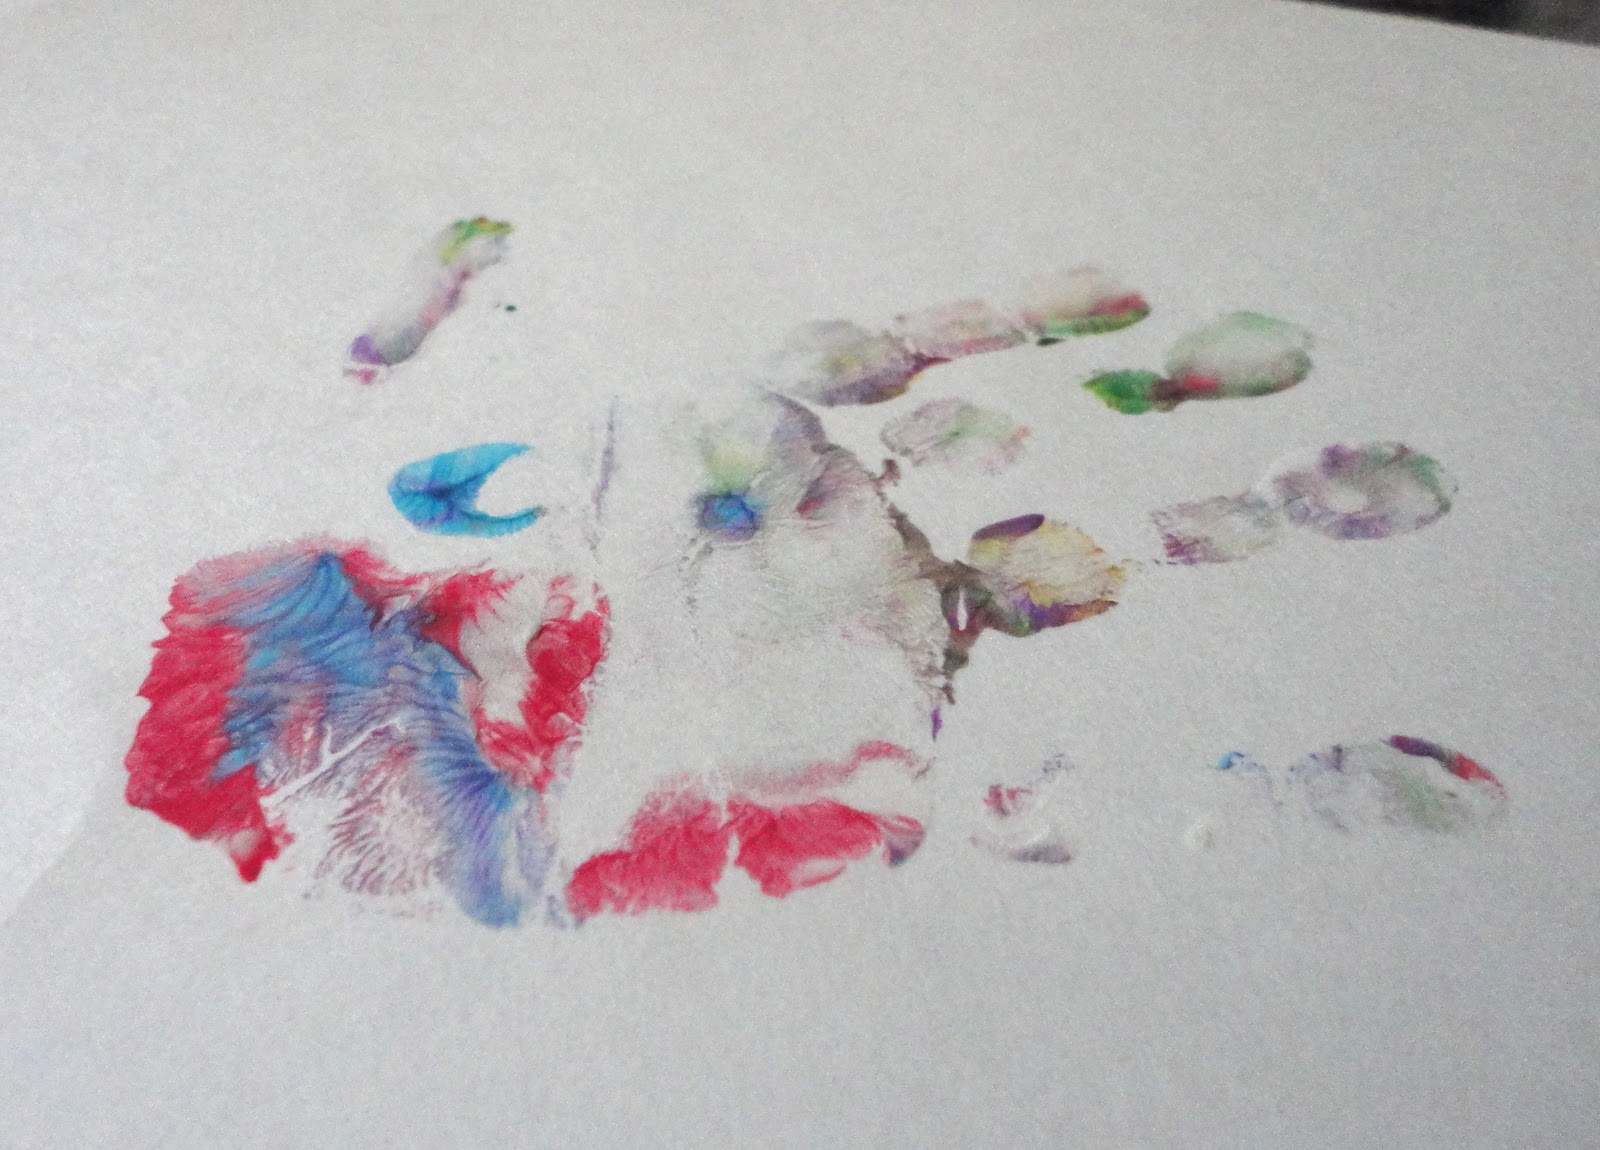
After a 5 month hiatus, I'm back. Being completely done with school and student teaching has left room in my brain for the creative juices to start running again..... and Saturday it hit be head on. I have tons of projects pinned on pinterest that I want to work on, but yesterday I had to have a quick creative outlet that didn't cost a penny (because this week we have seriously been on a tight budget.... like tight... it's that weird time of year when we're waiting for Daniel's financial aid to hit the bank). So first off we started with some finger painting with Dax...
This was our first time to finger paint at our big boy table instead of the highchair and it went great. I started by putting small dots of three colors on his paper. He started out timid using only a couple fingers but quickly dove right in.

Then someone decided to try a little lick...
he decided that it didn't taste very good.... and didn't try it again :)
And these were the finished products.... masterpieces if I say so myself...


This precious hand print will be going in a frame in our living room... I'll post a pic of that when it's done.
 Well apparently watching Dax be creative wasn't enough.... so after he went to bed I began rummaging through my art supplies and decided to make a bunting for Dax's room. Since May I have been trying to decided what to do with Dax's window. It's a nice big window so I didn't want to cover it much with curtains.... and then this shade thing came with it (you'll see it in a pic in a minute, I'm not sure the technical name for it) and it blocked a lot of light out when it's closed (which is nice for nap time). Needless to say, no window treatment out there was making me happy. But a bunting.... now that would be perfect. Would add some color and happiness to the window without doing much to it. And plus.... every room would be a happier place with a bunting in it.
I had tons of scrapbook paper so I used some of those to make the flags.
Alene's Tacky Glue is my glue of choice for pretty much and craft project. I just put a super thin line on the tops of each flag and put the ribbon on.


And there's the finished product! I think it turned out super cute and I love all the colors! It was the perfect touch to the window, took about 20 minutes, and didn't cost a penny!  (And ps in the last picture you can see the mobile we made a couple months ago is still hangin strong!).

Well that was my creative outlet for the weekend.... hopefully now that I'm done with school I'll have more time to be creative

Monday, October 10, 2011

More Montessori Updates!

Well we're night four of our switch and it has gone just awesome! We haven't had any problems with Dax putting himself to sleep in his new big boy bed! The only issue we've had is him rolling off in the middle of the night and not being able to find his way back to his bed in the dark. So to try and fix that issue we're trying out a new nightlight tonight to see if it helps.  Other than just sleeping going great I've seen other changes too. Dax plays in his room a large amount more now than he ever did before. I think it's just simply much more inviting and exciting to him than it was before. We also added all of these bad boys yesterday and he loves to go in and touch and look at them...


I'm hoping to try and do an art project with Dax at least every other weekend to keep things updated in his room. Right now it's just a couple things we painted over the summer and a couple items he did at school. My friend Lauren who has a little girl just over a month younger than Dax has also made the switch to a Montessori inspired room and gave me the awesome idea of hanging pictures of our family by Dax's bed. I love the idea that he can lay in his bed and look at us. He absolutely adores these pictures and goes over and just really inspects them and points at people. The family collage I made at Walgreen's with a coupon that got it free for me. It's an 8x10 collage of all of Dax's cousins, grandparents, aunts, uncles, his puppies, and our "extended" family in Kentucky :)
Dax is all over the place when he sleeps and the first night we heard lots of bumping and banging on the wall. So to fix that problem we put our body pillow that was just laying on our extra bed in our office between his mattress and the wall. It's the perfect size and has worked wonderfully!

I also already changed things a bit on his shelves. I added wooden stacking rings on the bottom of his shelves that were put up in his closet because a month ago it caused him frustration. Well I got them down, Daniel helped him some once, and now he just loves them and is getting really good at them. I also put the foam letters that spell his name on top of the shelf and he really enjoys taking those down and playing with them. I'm starting to try and get letters in where ever I can (these foam letters and letter magnets on his closet door) so he starts getting familiar with them. I also moved his sensory basket to his tall bookshelf and have a puzzle and shape sorter on the bottom shelf.
And here's the updated pic! I'll be sure to continue to keep you guys updated on how things are going! I started collecting some pinecones, twigs, leaves, and acorns and will add those in the mix soon!

Meanwhile here's an activity we did today! I brought home an empty Kleenex box from school and Dax was instantly interested in sticking his hand down in there! So I threw in some q-tips and made it a fine motor activity! This video caught the very end of him playing (which last for about 5 minutes) but you can see his little brain just a working away!  It's the simplest things!

Friday, October 7, 2011

Took the Plunge!

Well apparently Daniel was pretty excited about our big switch to a Montessori/Reggio/Freno room and while he was off today and I was at work he was quite the little worker bee and got things rolling for us!  We worked throughout the evening and have most of the room done! Yay!!!! 
We still all the decorating to do (child level) and I want to add some more Montessori directed "toys" but other than that it's pretty much done.
We got rid of the crib, rocker, and end table we had in the room. We kept the bookcase (though right now it's a little tall for Montessori) and kept the changing table (even though that would go in a complete Montessori room) because it's really convenient and the storage in it is irreplaceable. We also went and bought a new shelf that is more Dax's level and has space to keep the toys very organized and clean for Dax.
I decided I wanted Dax's room to be a calming place so we took out all noisy activities (they'll be in Dax's play space in the living room) and are keeping it limited to books, puzzles, and other quiet activities. We tried to make a comfy, inviting area to read books and tried to make his bed cozy and inviting as well with his favorite stuffed animals laying around, and his bedtime book setting on his soft, "new" nightstand that also doubles as storage. While he's sleeping we'll also fold his comforter over and lay it on the floor by his bed in case he rolls off.

Well here you go guys..... a few pics of our Montessori/Reggio/Freno room so far! Like I said.... I have a lot more I'd like to do to it so I'll keep you guys updated as we make more changes!
 Dax's bed!
 Reading books with daddy in his new reading area.


 New shelf. Here I put some of his favorite books so they are easy access for the reading area (he still has his bookshelf full in the room as well... these are just his favs), his discover bottles I made (the quiet ones), and the basket has a few random things made of different textures and materials for Dax to explore.
I think he likes it :)

Thursday, October 6, 2011

Going Montessori!

So it's official.... as of last night Daniel and I decided that we'll be making the big switch for Dax's room. Come December (or hopefully sooner if we can find the time) we'll make some big changes to Dax's room to make it an official Montessori toddler room!  Daniel and I are both way, way way excited! As soon as I mentioned the idea to him he ran off into the room and started planning the changes (have I mentioned how much I love this man and how he "gets" my crazy early childhood brain??) It will be our own little mix of Montessori, Reggio, and Freno ;)  but I'm really excited to make the switch. Here are a few pics I've ran across on that we'll be using for inspiration!
sewliberated.typepad.com
http://www.theeducatedmommy.com/?p=429
http://jen-peacefulparenting.blogspot.com/2011/01/our-montessori-home.html

Here's a little info on the Montessori and Reggio views on early childhood if you're interested. I also have about a million more pages bookmarked if you really want more info so just let me know!

Montessori


Daily Montessori  ~  This is a great overview of the main objectives of Maria Montessori and has a pretty good short video on the Montessori classroom

Peaceful Parenting ~ This is a great blog done by a mom that has implemented the Montessori principles in her home with her little boy! There are awesome pictures of their home and great ideas for Montessori learning.


Sew Liberated ~  Another great blog on how Montessori principles were used in their home

Montessori Home ~ Great article on what Montessori is and how to implement it in an infant environment.


Reggio Emilia

BrainyChild ~  Great run down of the Reggio Emilia approach


Let the Children Play ~ This is a blog post that gives a quick glimpse of what a Reggio environment looks like.


Well you guys will def. be updated when the process actually begins and there are sure to be a ton of pictures so start preparing yourself!  If you have any more questions let me know! I love to talk about this stuff!

Tuesday, June 21, 2011

A Little Step By Step....

A new baby in the family means time for some serious craft time.  The following is my newest project for my great nephew Kason due the end of July. For his brothers room I made these little jewels to match his bedding
While I must admit I'm not too shabby at painting, I wasn't even going to try to attempt to paint letters to match Kason's bedding.... which happens to be Mossy Oak camo. So instead I took a new twist and it ended up in a process like this...
All of the supplies! I bought 2 packs of 3 small painting canvas' for $1.99, wooden letters for .99 each, I had the glue gun, and Jess picked up 2 yards of fabric and spray paint.  This was a super cheap and easy project!
The first thing I did was wrap each canvas up in a piece of fabric just like a present.You do have to make sure the front stays smooth so pull super tight before glueing.
tahdah!! All 5 covered canvas'! We did every other letter with a different color fabric to make it a little more exciting.
Next I took the letters outside and spray painted them with one really good coat and let them dry over night in our garage.
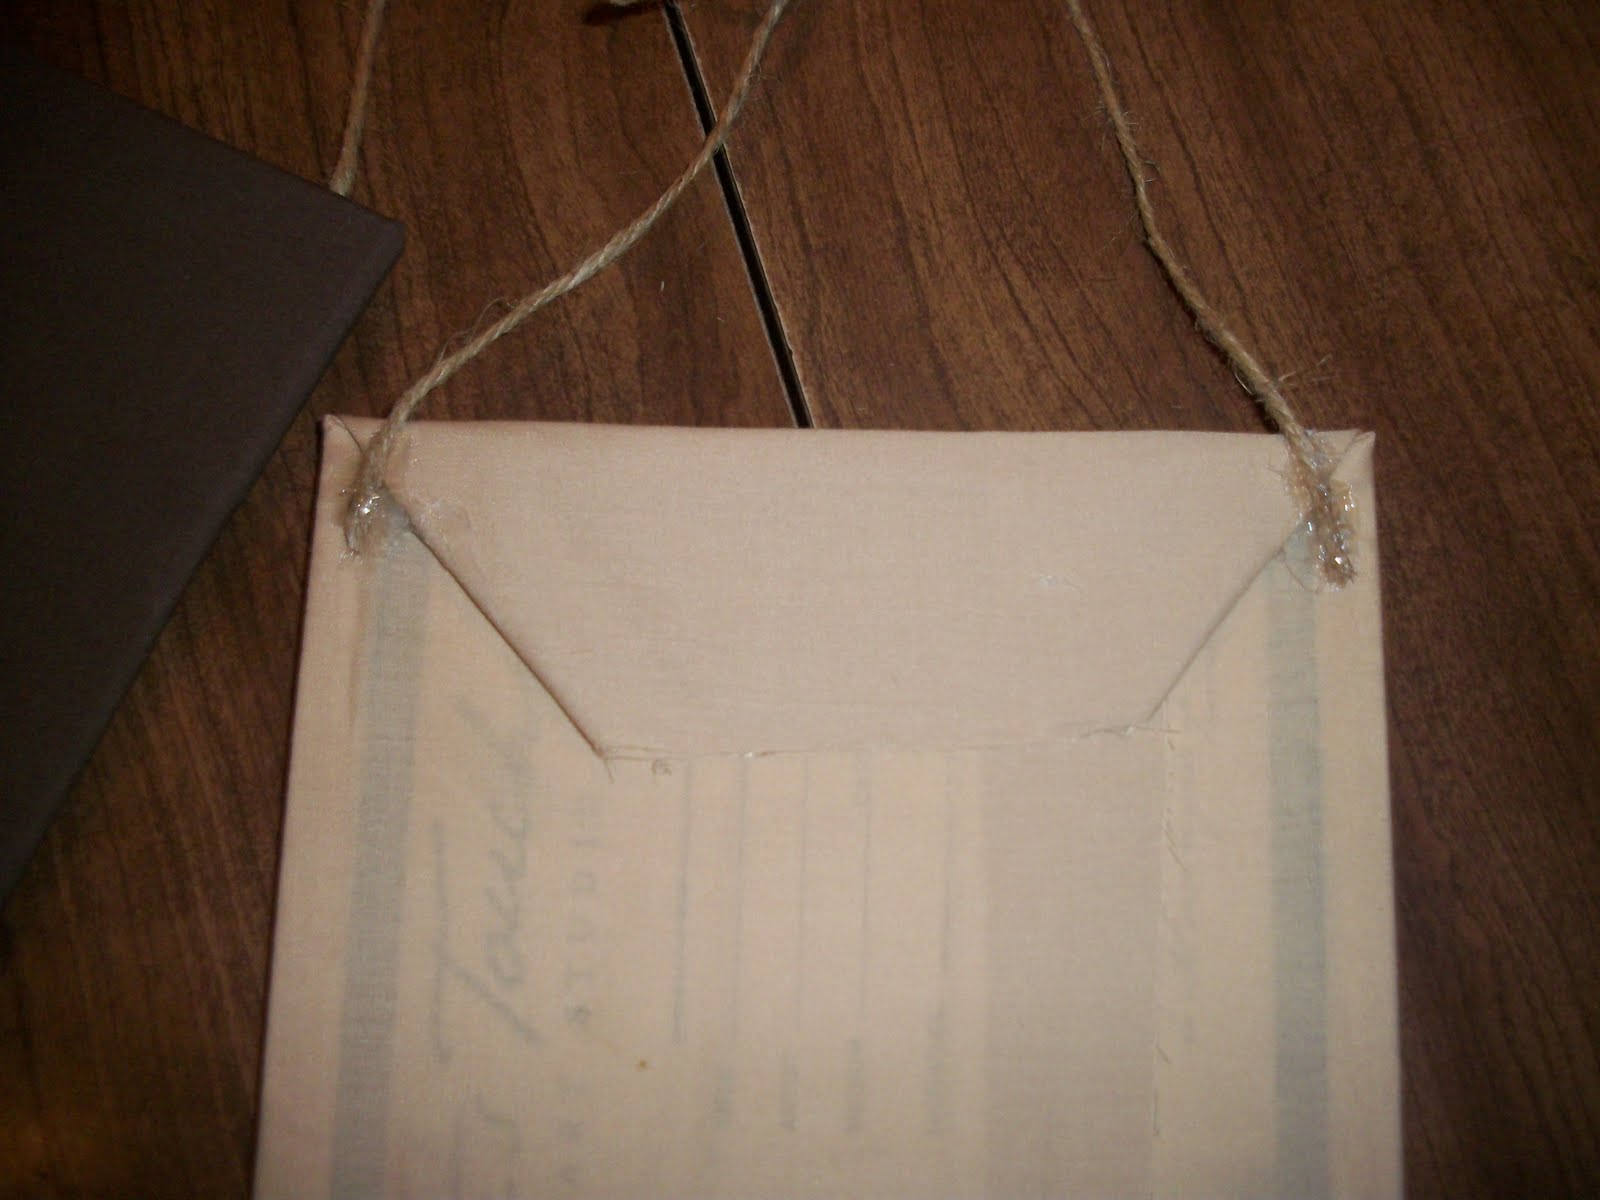
This time I used twine instead of ribbon to hang the letters to better fit with the hunting/camo theme. I put a TON of hot glue on the twine so it doesn't fall off after hanging for while. Like a huge dot under the rope and then a layer on top.
I tied each end of the twine together at the top with a cute little bow and to secure that the bow wouldn't come undone I put a small dot of hot glue on the back of the knot.
And this is the finished product! I really like how it turned out and it looks great with the rest of his room decor. One major thing I forgot to take a picture of was glueing the letters on. This part was a little tricky b/c I used a razor blade to cut a small portion of the fabric off so that I could hot glue part of the letter directly to the canvas. I was worried that if I didn't do so The letters would pull on the fabric. Cutting just a pea size part of the fabric off though and glueing directly to the canvas really helped a lot and they felt very secure!
And since we're talking about it.... here's a name I hand painted for my bff a year ago (WOW!)


And here's the one hanging in Dax's room...


Next post will be on my VERY yummy and healthy fruit pizza I made this week :)