So Daniel and I are both big fans of simple toys. The less flashy the better for us. The old wooden toys... awesome; bright flashy lights on a toy.. ehh. But what could get more simple than homemade toys?? Not to mention they're cheap! So I throughout my years working in learning centers I became a pro at making Discovery/Sensory bottles and decided to make some for Dax for home! I'm WAY excited about how they turned out and Dax LOVES them! Not to mention they're super cheap, easy, fun to make, and eco friendly (b/c you're recycling items that would normally get thrown away). Here are some pics of my journey of making Dax's Discovery Bottles!
1. First... you need empty AND DRY water bottles. The little ones are perfect size for little hands but the big ones work best when doing liquids. I also used some old empty small juice bottles that we had here as well.
2. Gather your goodies!! I have a ton of random art supplies at my house from being a teacher so most of what I used was that. You can also use rice, beans, noodles, aluminum foil, buttons... pretty much anything you can think of that would make noise in a bottle. Cheap baby oil as well as shampoo or corn syrup are also good to have on hand.
3. Start throwing whatever you would like into the bottles. Think bright colors, noise, movement... anything that a baby that uses all 5 of their senses to learn would love to see. Here are a few different things I did!
Just small multi colored beads in a small bottle. I only did it a little less than half full.
Different bright colors of tissue paper torn into small pieces. This is a quiet one (would be perfect to throw in the bag for places like church) but Dax LOVES the bright colors and watching the paper move around.
I had a small bag of bells left over from a class art project and they worked perfect for the bottles. It makes a different sound than the beans or beads so it's a nice change from the norm.
This is just a hodge podge of a ton of different bright colored items. I think there's a mix of beads, buttons, sequins, pipe cleaners, tissue paper, felt, balloons, ribbon, and letters that spell out Daxs name (if this bottle could last until he's like 3 finding the letters of his name would be a fun activity). I like that this bottle made noise and had a lot of bright colors in it.
This is one of the liquid ones. I did half baby oil and have water and added some glitter to it. The oil and water separate so it's fun to shake it up, watch the glitter move around, and then watch them separate again.
Another liquid one. With this one you fill it almost to the top with shampoo or corn syrup and then add some confetti. The thickness of the shampoo lets the confetti just sort of float around inside. It also bubbles up when shaken so that's sort of fun!
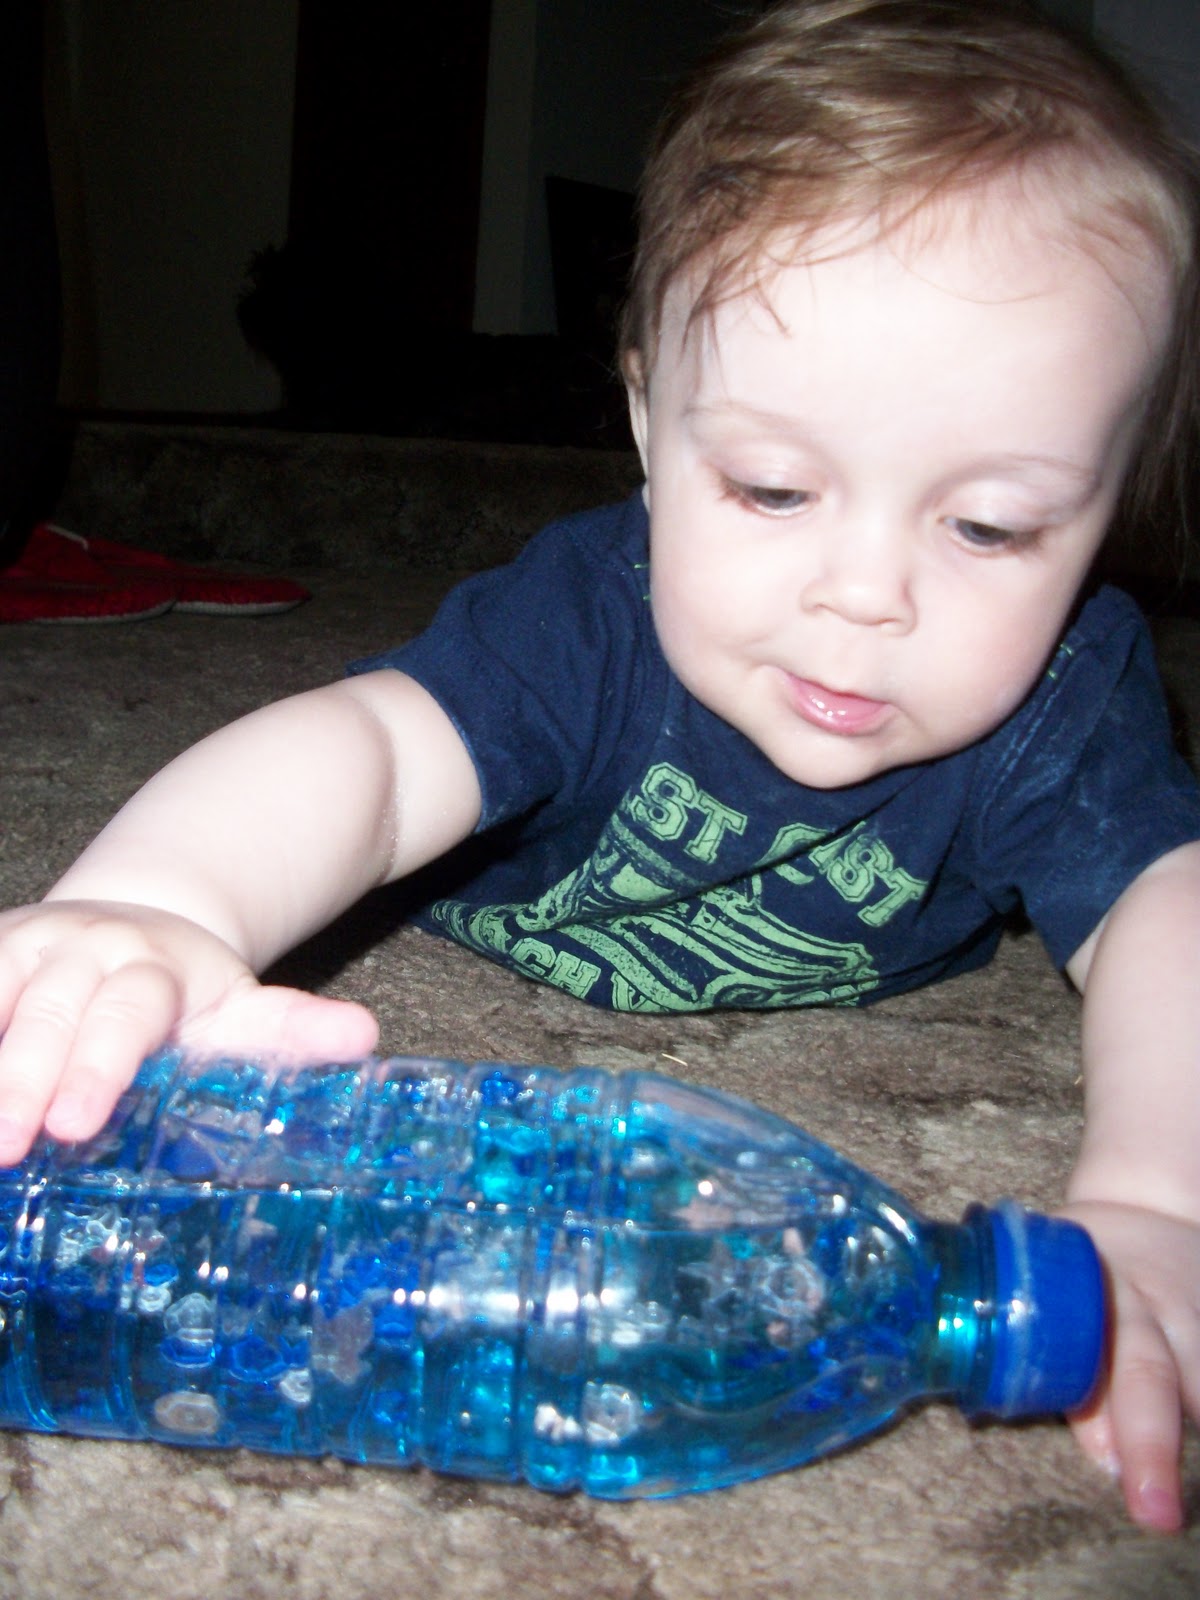
And this one turned out to be one of my favorites. It's the same idea of baby oil and water as mentioned above. This time I added a drop of blue food coloring along with silver and blue confetti. It's really pretty and Dax seems to really like this one too.
4. Glue the cap on. I put a ring of hot glue on before twisting the cap on and then finish it off with a layer of hot glue around the outside of it. If you want to get fancy you can also over this part with a piece of ribbon or a bow but I passed on that this time.
5. The finished products!!! There are the ones listed above as well as one with rice, one with beans, one with pieces of aluminum foil, and one with buttons. I made enough where I could switch them out ever so often to Dax doesn't get bored with the same ones all the time.
6. And the test run.....
I'd say they were a success!! :)


I love this! I'm totally going to be making these now! Thanks for sharing :)
ReplyDelete